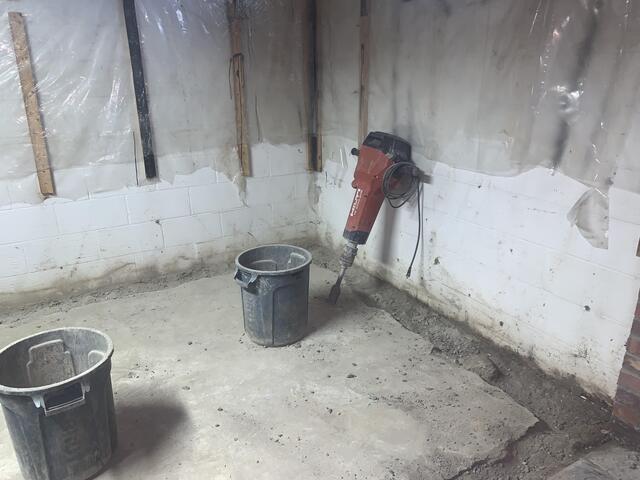
Making Room for the WaterGuard
First our team begins jackhammering the concrete around the perimeter to make room for the WaterGuard. This system installs quickly and easily, with minimal invasion to the concrete floor.
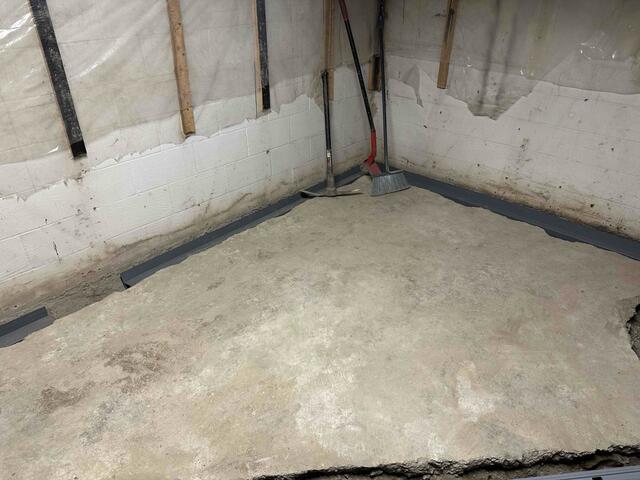
WaterGuard Installtion in Progress
Our team began installing the WaterGuard within the sections that they jackhammered away. This patented and award-winning drainage system rests in a bed of drainage stone on top of the foundation footing. This is so that it is kept out of the mud zone, where it could potentially become clogged with dirt or debris.
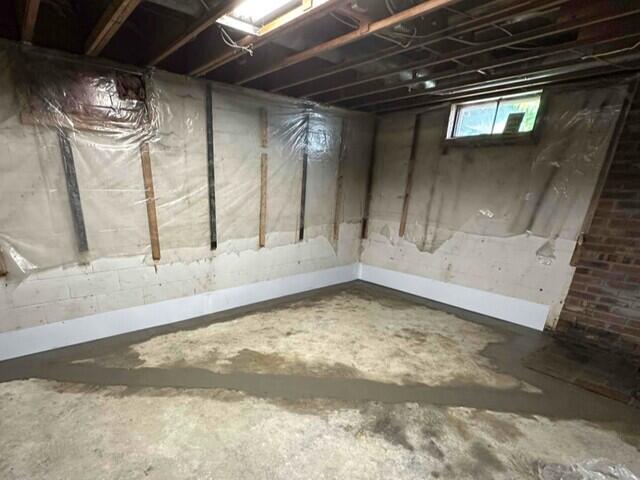
WaterGuard Installation Complete
The concrete floor has been restored and the WaterGuard is now permanently in place and ready to collect any water that seeps through the basement walls.
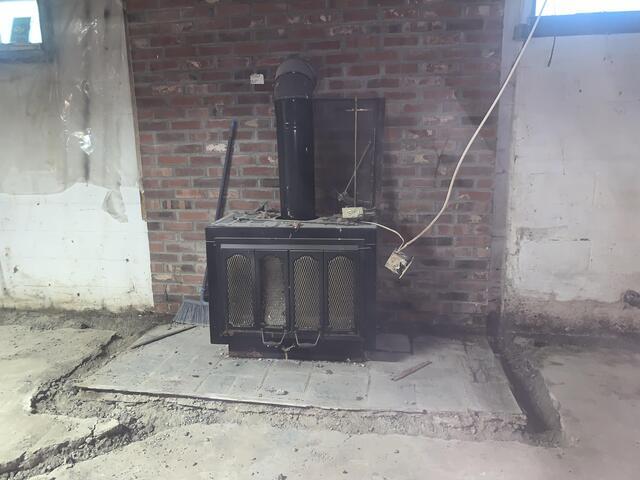
Carefully Working Around a Wood Stove
This wooden stove and the stone slab it rests on could not be disturbed, so our team carefully jackhammered around the stone slab instead.
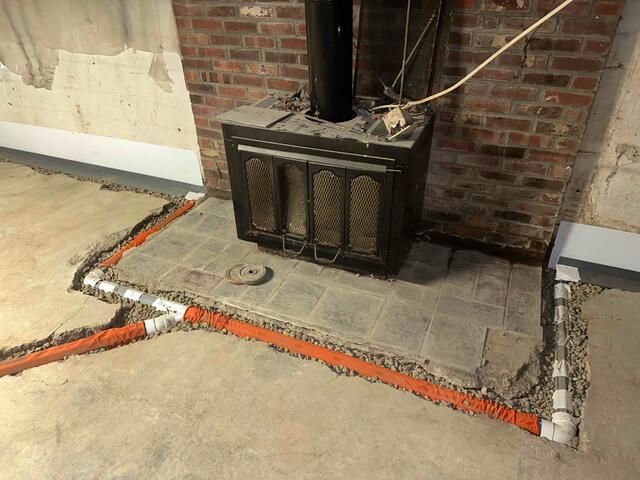
Connecting Pipes to the WaterGuard
We connected these pipes to the WaterGuard system we installed so that water would then be funneled into the sump pump system.
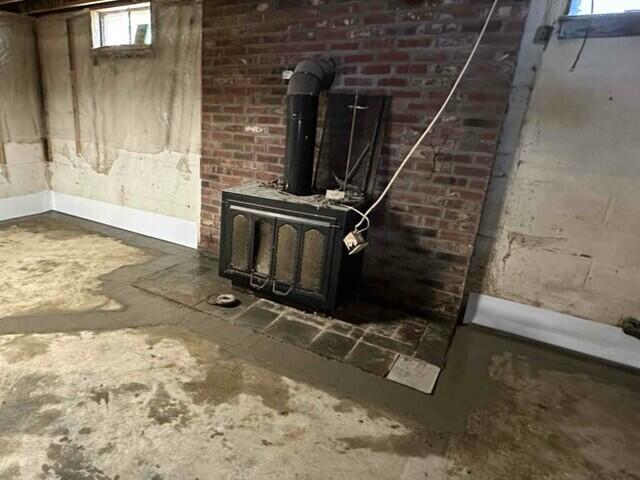
Concrete Floor Restored and Pipes in Place
The pipes have been successfully installed around the wood stove and will give any water that intrudes a direct pathway to the sump pump system.
